The Great Jamming Myth
‘Tis the season. Berries and stone fruit at their juicy peak. Wild blueberries, strawberries, raspberries. Peaches and cherries. Perfect, succulent and delicious, but only for a minute.
Here in the great white north, there’s nothing more delicious than a mouthful of summer spread atop a buttery something than a spoonful of homemade jam.
It’s so easy, I’m surprised more people don’t do it, but I suspect the myth of unpredictable jamming alchemy is more than a little daunting to the first time jammer.
I’ll admit, jamming does take a fair amount of kit, and high-quality local fruit can be expensive. But given an investment in equipment that will last forever and reusable canning jars, the cost/benefit ratio greatly improves over time. (Plus frozen fruit is always an option and almost as good!)
All sorts of jam wags (myself included, I suppose) will fill your heads with do’s and don’ts regarding pectin, citrus, low sugar, butter and so forth. And truth is, there are, doubtless, many roads to jam Mecca.
Myself? I’ve come up with an easy, generally fool-proof method that almost always delivers adequately thick, sweet, simple jam with singing fruit flavor made with a minimum of fuss.
Some key points to remember.
Jam making is chemistry, but it’s not rocket science. The basic notion is to combine fresh, chopped fruit with a proper ratio of sugar and citrus juice over high heat to allow the sugar to dissolve then reform together with the fruit and naturally occurring pectin into a thick, sweet spread of delish.
There are many factors that can vary in jam making; the ripeness of the fruit, more or less naturally occurring pectin, atmospheric pressure and elevation as well as the amount of naturally occurring moisture in the fruit and so forth.
There are also some constants. The magic number (220 degrees F), the proper ratio of sugar to fruit and lemon juice and the choice of a proper pan in which to jam.
Okay. Science lesson over. Let us proceed.
Jamming Equipment
8 oz canning jars with rings and new lids. (Jars and rings can be recycled endlessly. — lids must be new with each canning.)
A sturdy kitchen scale with TARE function.
A large heavy pot like a cast iron enameled Dutch Oven. (Mine is 6.5 liters.) The key to success is heavy, even heat distribution and a wide opening. Never fill a jam pot more than half full. It mIght boil over, it will take forever and it’s just too much. Make two batches if you want to make a lot.
A good, digital candy thermometer (An instant-read thermo pen works well, too.) Test it for accuracy in a pot of boiling water. It should register 212 degrees F.
A large water canner with lid and rack.
Canning tools: canning funnel, jar lifter and magnetic lid grabber.
Basic Jam Recipe
Use washed, paper towel-dried and not over-ripe fruit. A few pieces not quite ripe in a batch help increase the pectin. A number of people make jam using honey, agave syrup, maple syrup, sugar substitutes or via a low-sugar menthol. I don’t. I use good old white granulated sugar. I use Santa Cruz brand bottled lemon juice which is natural and consistent in acidity which fresh, whole hand-squeezed lemons are not. You may or may not add a tiny knob of butter to keep the foam down, and optional flavorings (like cinnamon in a blueberry jam or vanilla in cherry, for example.)
Every fruit is a little different, but as a rule of thumb, one generally uses a 1:1 ratio between fruit and sugar with 2 TBS lemon juice per pound of fruit. Sometimes, it’s complicated when trying to consider fruit (usually measured by pints and quarts or pounds) to sugar, usually in cups.
Each pound of fruit will yield about 1 - 8 oz jar of finished jam.
Here’s a chart:
Strawberries. 1 Quart (between 1.25 and 1.5 Pounds)
Raspberries 1 Quart (between 1 and 1.25 pounds)
Wild blueberries 1 Quart (about 1.5 pounds)
Cherries 1 Quart (between 1.25 and 1.5 pounds)
Peaches 1 Quart (about 2 pounds)
White, granulated sugar - 1 pound equals about 2 ⅓ cups.
Let’s make strawberry jam!
This will make 3 jars of jam or so. (8 oz)
Ingredients:
2 Quarts ripe strawberries. Washed and hulled. Patted dry. 3 pounds
3 pounds granulated sugar (I know. Jam is not health food.)
6 TBS Santa Cruz Lemon Juice
½ t knob of butter
Method:
Run jars and rings through dishwasher sanitize cycle.
Place new lids in small saucepan of water on the stove. Bring to a boil then keep hot over low heat.
Place jam pot on scale and use TARE setting to “zero out” its weight.
Dump in washed, hulled and towel dried berries. Note weight. Should be about three pounds)
Press TARE again to zero out weight once more.
Add sugar to match weight of berries - 3 pounds (about 6.87 cups)
Pour in lemon juice
Using potato masher, mix sugar and juice into berries. Let sit for 30 minutes or so.
Meanwhile, heat enough water in your water canner to cover a single layer of 8 ounce jars by about 2 inches. (Remove the rack first.)
After the berry mixture has macerated, put it on the stove and turn up the heat gradually to high. Stir often until temperature reaches 220 degrees F on a candy or instant read thermometer. Skim off any foam that develops. Achieving the last three or four degrees may take a maddeningly long time. If you’ve waited more than ten minutes for the temperature to rise the last four or five degrees, put in some more sugar (quarter of a cup) and stir well. Bring back to the boil, wait a minute and check the temperature again. It should reach 220..
Turn off the heat and stir. Then let sit for ten or fifteen minutes. (Or the time it takes to drink a glass of wine. This resting period helps the fruit chunks to stabilize evenly distributed in the jam
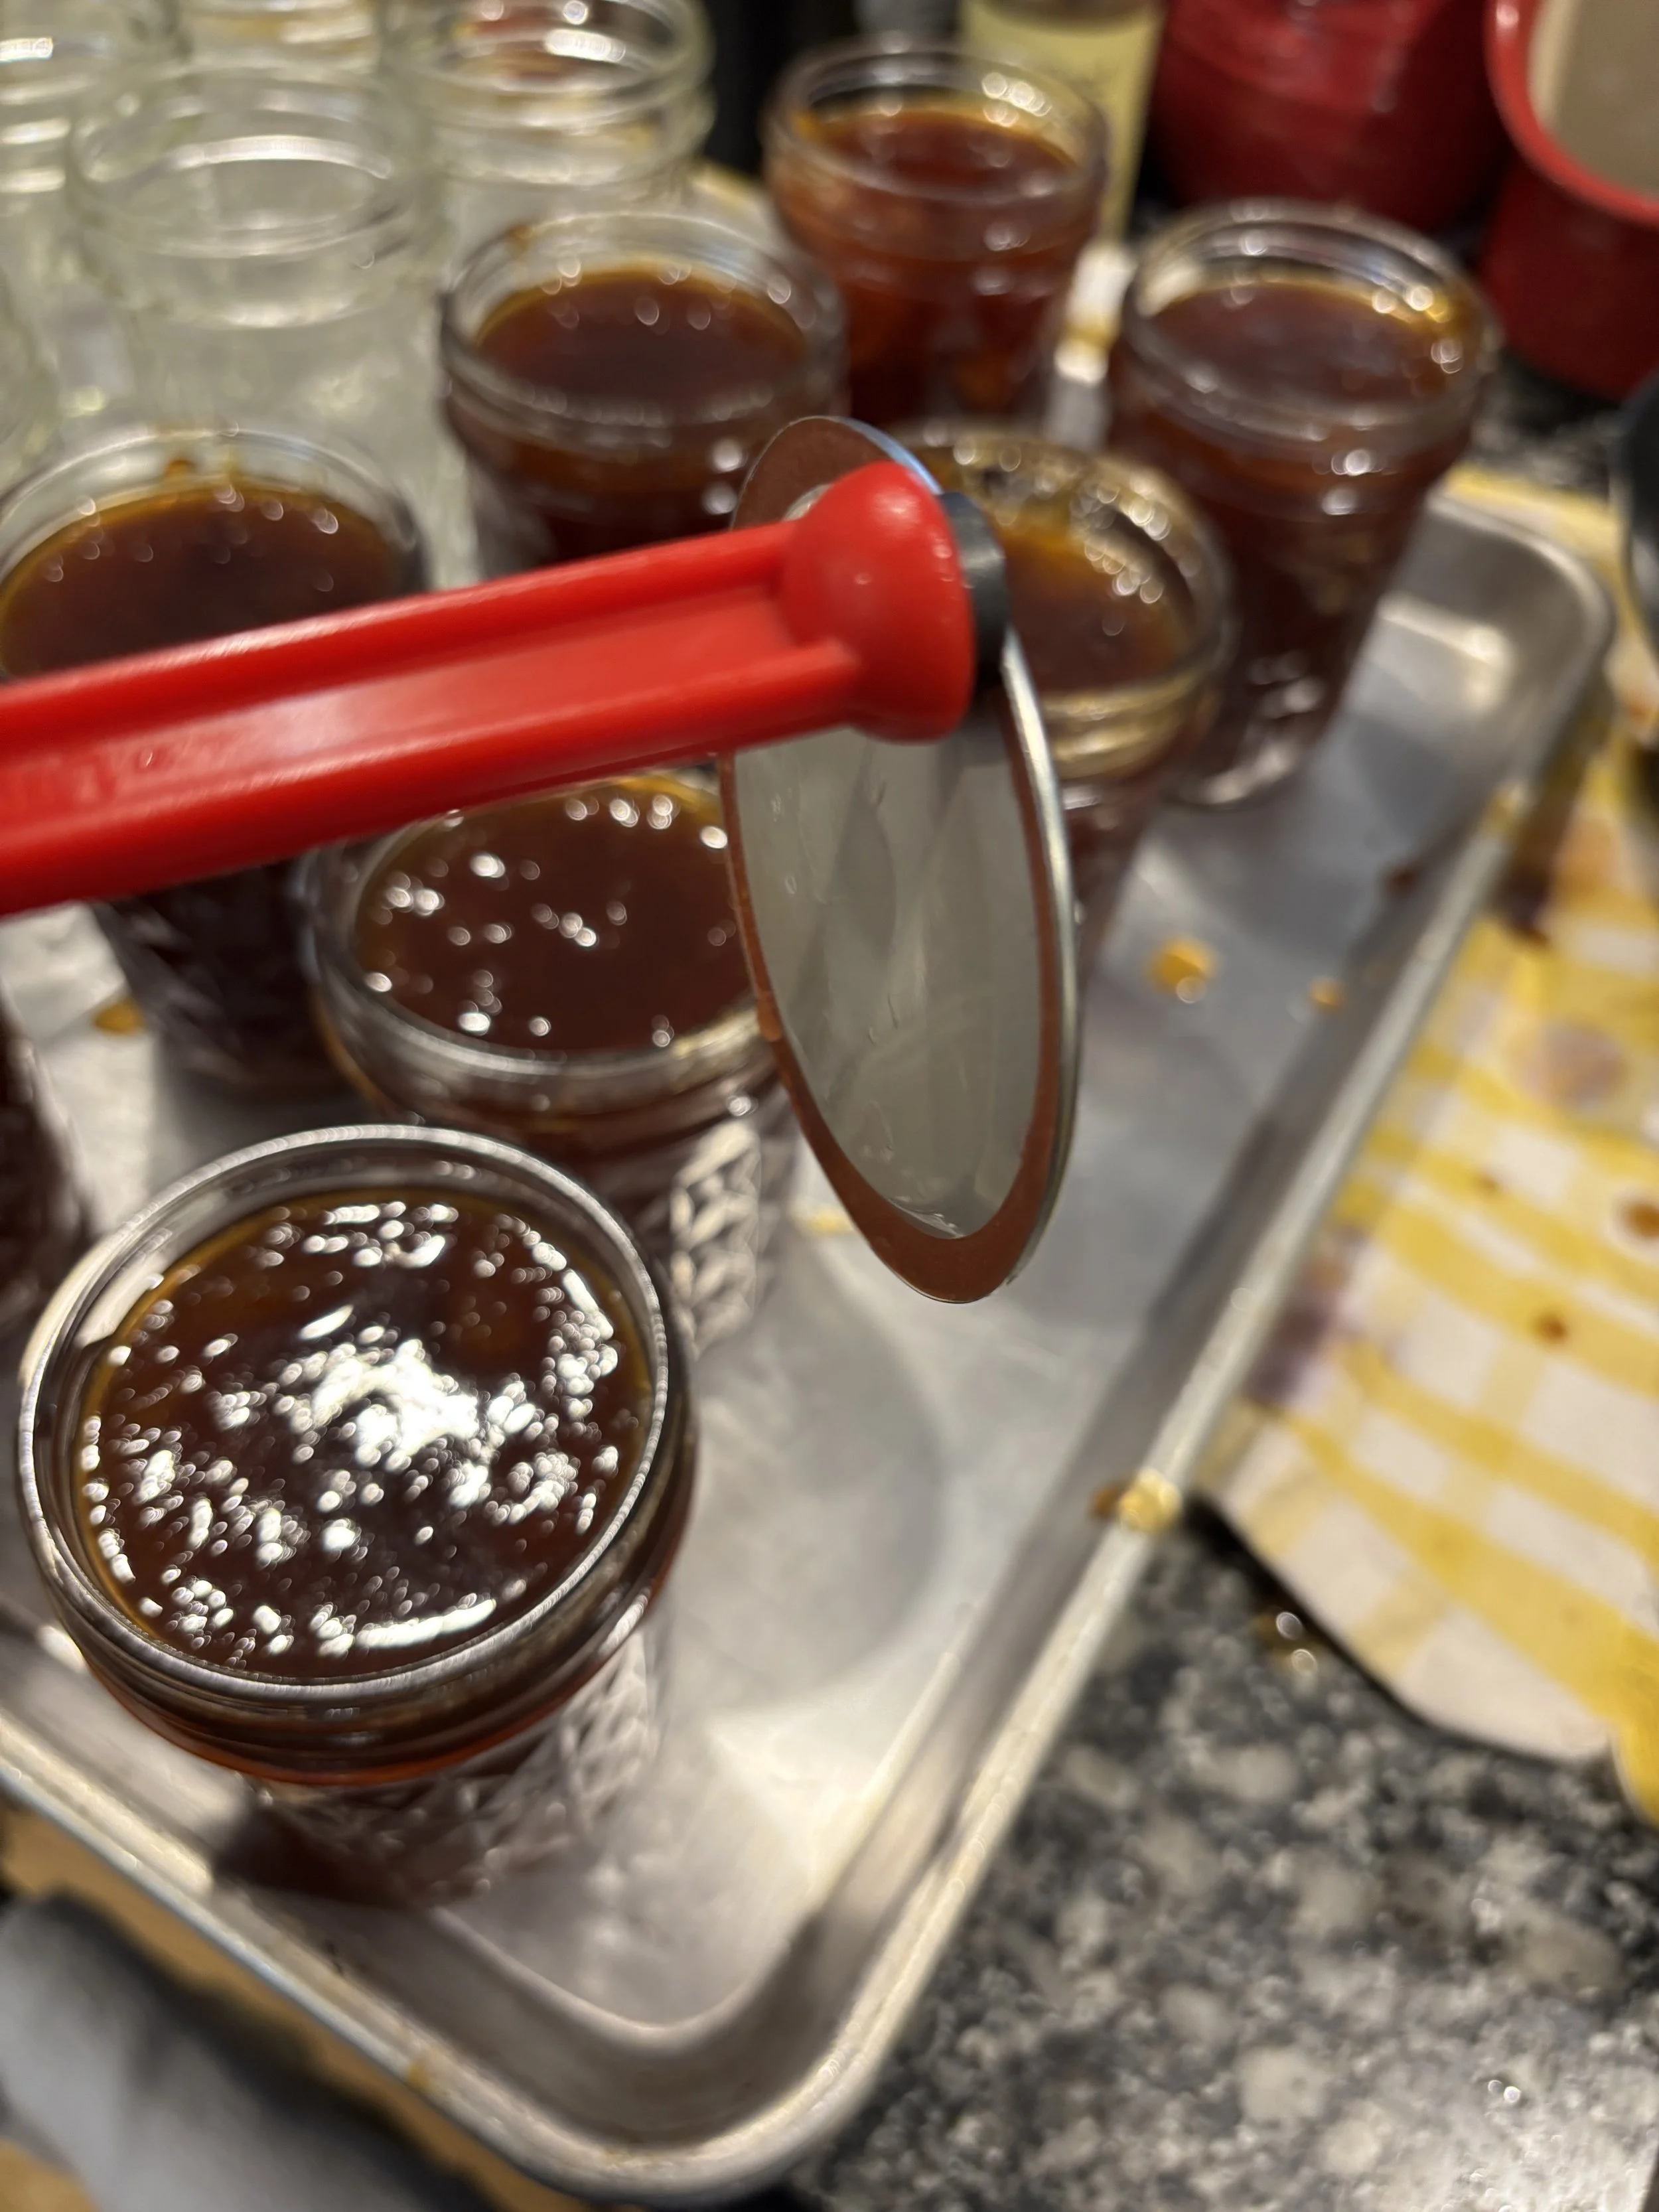
Now rested, prepare to jar it up. Place clean jars on a kitchen towel directly adjacent to your jam pot. Using a small ladle and the canning funnel, fill each jar to within ½ inch of the rim. (Leaving this headroom allows to a little expansion in the canner. After filling, tap each jar smartly on the counter a couple of times to settle the contents.
Once all the jars are filled, wipe each rim carefully with a wet paper towel to insure a good seal between rim and lid. Now, using your magnetic wand, place a hot new lid fresh from its water bath on every jar. Screw on a rig to “hand tightness.”
Place full, lidded and ringed jars into your canner’s rack. Carefully lower it into the hot water bath. Bring to a boil and cover. Let boil for 10 minutes. When finished, turn off the heat, remove the lid and let things cool down a bit before removing the jars from the bath.
Cool on the counter on a kitchen towel. You’ll hear the pleasant popping sounds of the lids contracting into a full seal as they cool.
Once at q room temperature, finish tightening each jar rim and check the lid. It should be unmovable and slightly depressed. If, by chance, a lid does not fully seal, stick the jar in the fridge and eat right away. (It’ll be good for a month or so.)
Processed jam with fully sealed lids keeps at least 18 months in a cool, dry place. Be sure to label each jar with contents and preparation date!